
Vertical Space: The Most Underused Dimension in Home Storage

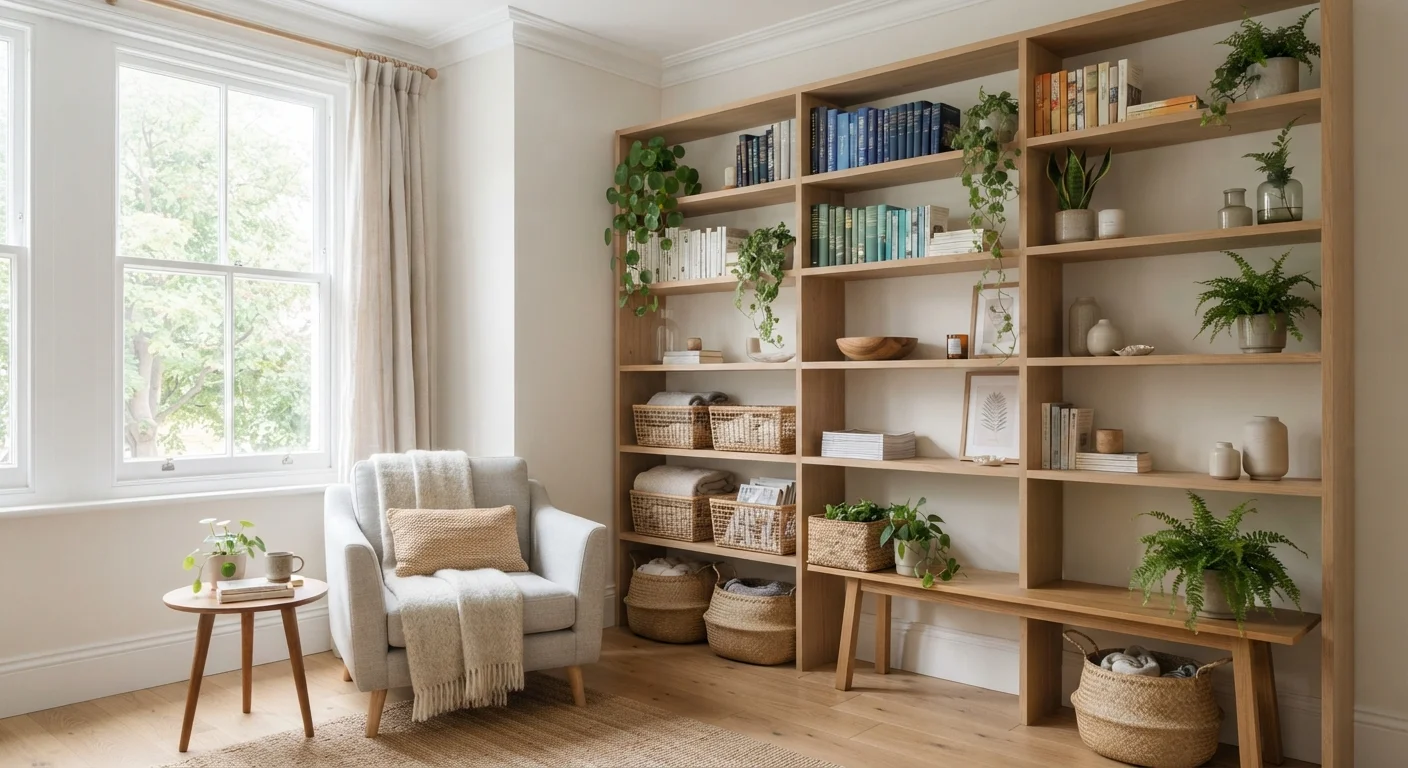
Photo: UnlockTopics.com | Unlocking Trending Content editorial
Key Takeaways
- Most homes have several feet of unused vertical space above existing furniture and shelving.
- Vertical storage works in every room - kitchen, bathroom, bedroom, and home office alike.
- Anchoring tall storage to wall studs is essential for safety; never skip this step.
- Grouping items by frequency of use vertically keeps daily essentials within easy reach.
- Simple additions like wall-mounted hooks and over-door organizers cost little and reclaim significant space.
Why Vertical Space Gets Ignored
Most storage instincts are horizontal. We fill a countertop, a shelf, a drawer, a floor - and when those surfaces run out, the instinct is to find more floor space rather than look up. The ceiling in a standard US home sits 8 to 9 feet above the floor. The top of a typical bookcase or kitchen cabinet hits around 6 feet. That leaves up to 3 feet of wall - sometimes more - completely unused in almost every room.
This isn't a design oversight; it's a habit. Vertical storage requires a slightly different mental model: thinking of walls as floor plans turned sideways, each horizontal band offering a distinct storage zone. Once you shift to that frame, most rooms reveal considerably more capacity than they appear to have.
If you're also rethinking how your floor plan itself is working for you, the trade-offs of open-plan living is worth reading alongside this guide - open layouts affect where walls (and therefore vertical storage) are available.
Map Your Wall Before You Shop
What You'll Need Before You Start
Getting vertical storage right requires a small amount of preparation that most guides skip. Measuring accurately, understanding your walls, and deciding what goes where before buying anything will save time and money. Below are the tools you'll want on hand and the key prerequisite knowledge to gather first.
What you will need
Stud finder
Locates wall studs so shelf brackets and anchors can be secured safely.
Tape measure
Accurately measures wall height, shelf spacing, and available width.
Level
Ensures shelves are installed horizontally so items don't slide or tip.
Drill with bits
Used to drive screws into studs or set wall anchors for brackets.
Wall anchors and screws
Secures shelf brackets to walls where studs are not perfectly placed.
Over-door organizer
Adds immediate storage to the back of doors without any drilling.
Always Anchor Tall Storage to Studs
Step-by-Step: Reclaiming Your Vertical Space
These steps move from assessment through installation and can be applied to any room. Work through them in sequence - the audit and sorting steps are not optional preliminaries, they shape every decision that follows.
Audit your vertical space room by room
Stand in each room and look at the gap between your highest piece of furniture and the ceiling. In most homes, this gap runs 18 to 36 inches - enough for an additional full shelf or two. Note how wide each wall section is and where outlets, switches, and windows interrupt the run. This inventory tells you what kind of storage solution fits each zone before you spend a dollar.
Sort your belongings by access frequency
Divide what you own into three rough categories: daily-use items, occasional-use items, and rarely-accessed items. Daily items belong at or below eye level. Occasional items fit on mid-to-upper shelves. Items you reach for a few times a year - seasonal décor, spare linens, archival documents - can live on the highest shelves where a step stool is required. This zoning principle keeps vertical storage functional, not just tidy-looking.
Choose the right storage format for each wall
Not every vertical surface calls for the same solution. Open floating shelves suit living rooms and home offices where you want visual access. Closed cabinetry works better in kitchens and bathrooms where dust and moisture are concerns. Freestanding units with anti-tip hardware are a practical option in rentals where wall drilling is restricted. Over-door organizers - on pantry, bathroom, and bedroom closet doors - add a surprising amount of capacity without touching a single wall.
For kitchen organization ideas that complement vertical thinking, see our guide on organizing a small kitchen when counter space is already gone.
Locate studs and mark your installation points
Run your stud finder horizontally across the target wall at the height where your top bracket will sit. Mark each stud with a light pencil mark. Standard stud spacing in US construction is 16 inches on center, though 24-inch spacing is common in some builds. Where your bracket falls between studs, use rated hollow-wall anchors rated for the load you plan to hang. Never rely on drywall alone for shelves that will hold books, kitchenware, or anything substantial.
Install and load shelves from the bottom up
Install your lowest shelf first and confirm it is level before moving upward. This sequence catches any wall irregularities early. Once all shelves are mounted, load heavier items on lower shelves and lighter items higher up - this keeps the center of gravity low and reduces strain on upper brackets. Avoid overloading: check the manufacturer's stated weight limit per shelf and stay within it.
Apply the same logic to closets and doors
Inside closets, the space above the standard hanging rod is almost always empty. A second rod at a lower height for shorter garments, combined with a shelf above the original rod, can nearly double a closet's usable capacity. On the back of closet doors, shallow over-door organizers hold shoes, cleaning supplies, or pantry overflow without reducing the door's clearance. Apply the same frequency-of-access logic here: what you reach for most should be at shoulder height or below.
If you share your home with others who have different organizing preferences, our article on shared spaces and different organizing standards offers practical strategies for finding common ground.
Check for Permits on Built-In Shelving
Room-Specific Considerations
Vertical strategy looks slightly different depending on where you're working. In a home office, wall-mounted shelving above the desk keeps the work surface clear and puts reference materials at eye level - a significant productivity benefit. Our guide to organizing a home office that stays functional under daily use goes deeper on this specific challenge.
In a small bathroom, a narrow ladder shelf or a medicine cabinet extended with a wall-mounted shelf above it can handle the overflow that typically ends up on the vanity. For more spatial principles that apply here, see our article on design principles for small bathrooms.
In a living room, floor-to-ceiling shelving anchored to studs becomes a visual feature as much as a storage solution, reducing the need for additional furniture pieces that would otherwise consume floor area. The key is maintaining visual breathing room: alternating closed bins with open displays prevents the wall from feeling oppressive.
If any of the terms used in organizing guides - negative space, dead zones, flow - feel unfamiliar, the article key terms every home organizer uses is a plain-language reference worth bookmarking.
The content on this site is for informational purposes only and is not a substitute for professional advice. Always consult a qualified professional for guidance specific to your situation.