
Home Upgrades

Small Bathroom, Big Constraints: Design Principles That Actually Help

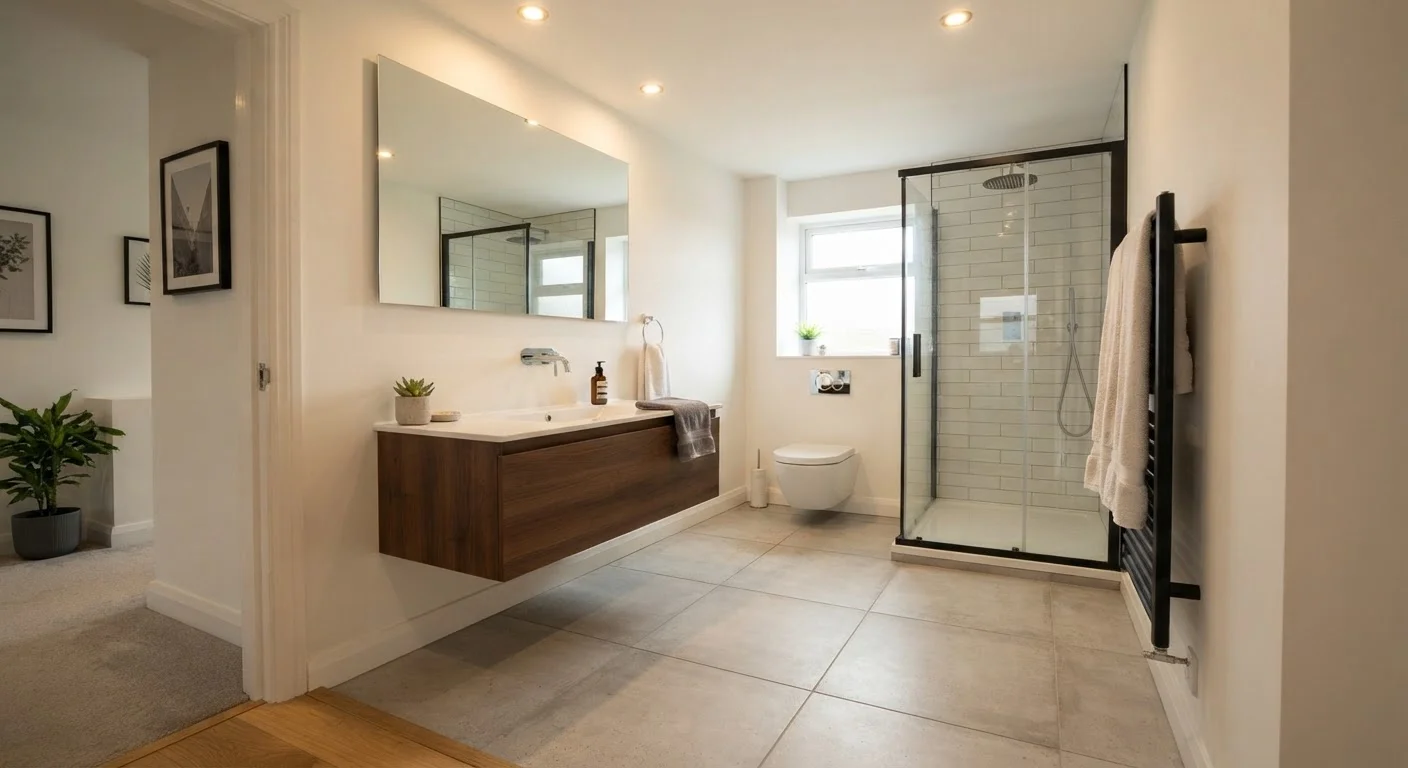
Small Bathroom, Big Constraints: Design Principles That Actually Help

Photo: UnlockTopics.com | Unlocking Trending Content editorial

From fixture placement to tile scale and mirroring, these spatial principles help small bathrooms feel better without requiring a full remodel.

Key Takeaways

  • Large-format tiles and consistent color reduce visual fragmentation, making small bathrooms feel more spacious.
  • Fixture placement affects perceived floor area more than most cosmetic upgrades do.
  • Mirrors and lighting work together — position both deliberately for maximum spatial effect.
  • Vertical storage reclaims space without crowding the floor or countertop.
  • A coherent material palette of two to three finishes keeps a small space from feeling cluttered.

Why Small Bathrooms Feel Cramped (and What's Actually Causing It)

Square footage is rarely the whole story in a small bathroom. A 45-square-foot bathroom can feel suffocating or surprisingly functional depending on a handful of spatial decisions made during design or renovation. The culprits behind that cramped feeling are usually specific and fixable: too many competing visual planes, poor light distribution, fixtures that block sightlines, and storage that colonizes every horizontal surface.

Understanding which of these is driving the problem in your bathroom is the starting point. A bathroom where clutter is the main issue responds well to storage rethinking — see how vertical storage can expand capacity without touching the footprint. But if the space feels tight even when it's tidy, the answer usually lies in the design principles below.

Core Design Principles That Expand Perceived Space

These principles work because they address how the eye reads a room, not just how many cubic feet it contains.

1

Use large-format tiles on the floor to reduce grout line frequency.

Grout lines act as visual dividers. The more of them a small floor has, the more the eye breaks the space into fragments, making it read as smaller. Fewer, wider tiles let the floor read as a continuous plane. This is one of the more durable and cost-effective investments in a bathroom renovation.
Example: A 5x8 bathroom floor tiled in 12x24-inch tiles will appear noticeably more open than the same floor covered in 4x4-inch tiles — even with identical color and material.
2

Mount mirrors as large as the wall practically allows, and position them at eye level.

Mirrors don't just reflect light — they double the perceived depth of whatever they face. A mirror that runs the full width of the vanity wall effectively creates a second room behind it, which the eye reads as additional space. Undersized mirrors above a sink negate this effect almost entirely.
Example: Replacing a small medicine cabinet mirror with a frameless mirror spanning the full vanity width is one of the highest-impact changes a small bathroom can receive, often for a modest material cost.
3

Choose a wall-mounted or pedestal sink over a bulky vanity cabinet when storage can be handled vertically.

Visible floor area is a primary cue for spaciousness. A sink that frees up floor space — even a few square feet — allows the eye to read the room as larger. The trade-off is under-sink storage, which can be recovered with wall-mounted shelving or recessed niches.
Example: In a narrow bathroom, a wall-hung sink with an open shelf beneath it maintains the floor sightline while still providing a surface for essentials.
4

Limit the material palette to two or three finishes and repeat them consistently.

Visual complexity makes small spaces feel busier and smaller. When tile, hardware, accessories, and fixtures each introduce a different material or finish, the eye has nowhere to rest. A unified palette creates calm and the illusion of more room.
Example: Pairing matte white tile with a single brushed nickel finish for all hardware and fixtures — faucet, towel bar, toilet paper holder — produces a coherent look that reads as intentional rather than crowded.
5

Layer lighting: combine overhead ambient light with task lighting at the mirror.

A single overhead fixture casts shadows downward on the face and creates a flat, slightly depressing quality in a small room. Adding sconces or a well-positioned light bar at the mirror level eliminates shadows and distributes light more evenly, which makes the room feel larger and more finished.
Example: Side-mounted sconces at roughly face height on either side of a bathroom mirror provide even task lighting and reduce the cave-like quality of overhead-only setups.

Quick Wins You Can Apply Without Remodeling

Not every improvement requires a contractor. Several spatial principles can be applied through purchases and rearrangements that stay well within a typical weekend project scope. These are particularly useful if a full remodel isn't feasible — similar thinking applies in other constrained rooms, like organizing a cramped kitchen where every inch has to work harder.

high Remove everything from your countertop and put back only what you use daily — store the rest in a drawer, cabinet, or bin.
high Swap a framed or recessed medicine cabinet mirror for the largest frameless mirror that fits your vanity wall.
medium Replace a solid shower curtain with a clear or semi-sheer panel to extend the sightline through the bath area.
medium Add a wall-mounted shelf or two above the toilet to move items off the floor and counter.
low Install a dimmer switch on your existing overhead fixture to allow lower, warmer light in the evening — this costs under $30 in most cases and requires only basic electrical work on an existing switch.

These changes compound. A bathroom that gains better lighting, a larger mirror, and cleared countertops simultaneously will feel noticeably different from one where only one change was made.

What to Keep in Mind Before Making Changes

Design principles are guides, not rules with guaranteed outcomes. What reads as spacious in one bathroom may not translate identically to another due to window placement, ceiling height, or plumbing location. Start with observation: spend a few days noticing exactly where the space feels tight, at what time of day lighting is worst, and which surfaces attract the most visual clutter.

When Principles Conflict With Your Floor Plan

Some spatial principles work against each other in specific layouts. A pedestal sink gains floor visibility but eliminates counter storage, which can create new clutter problems. A large mirror is powerful only if what it reflects is tidy and well-lit. Evaluate each principle against the specific bottleneck in your bathroom rather than applying all of them at once. The most effective changes are those that address the dominant constraint — not the most visually obvious one.

For any work involving plumbing relocation, electrical changes (including recessed lighting or new outlets near water), or structural modifications, consult a licensed contractor and verify local permit requirements before proceeding. These are regulated tasks in most jurisdictions, and unpermitted work can create complications when selling a home. The principles here are specifically chosen because most can be applied within the existing footprint — without triggering those requirements.

For broader thinking about how spatial choices ripple through a home, the trade-offs explored in day-to-day home upgrades apply equally to small bathroom decisions.

Home & Living Editorial Team

UnlockTopics.com | Unlocking Trending Content

Home & Living Editorial Team is the collective byline for our editorial team and contributor network. Articles published under this byline or an editorial pen name are researched, written, and reviewed according to our editorial standards for clarity, consistency, and independence before publication.

Home OrganizationHome UpgradesSmart Shopping
View author profile

The content on this site is for informational purposes only and is not a substitute for professional advice. Always consult a qualified professional for guidance specific to your situation.