
Setting Up a New Smartphone Without Losing Your Old Life

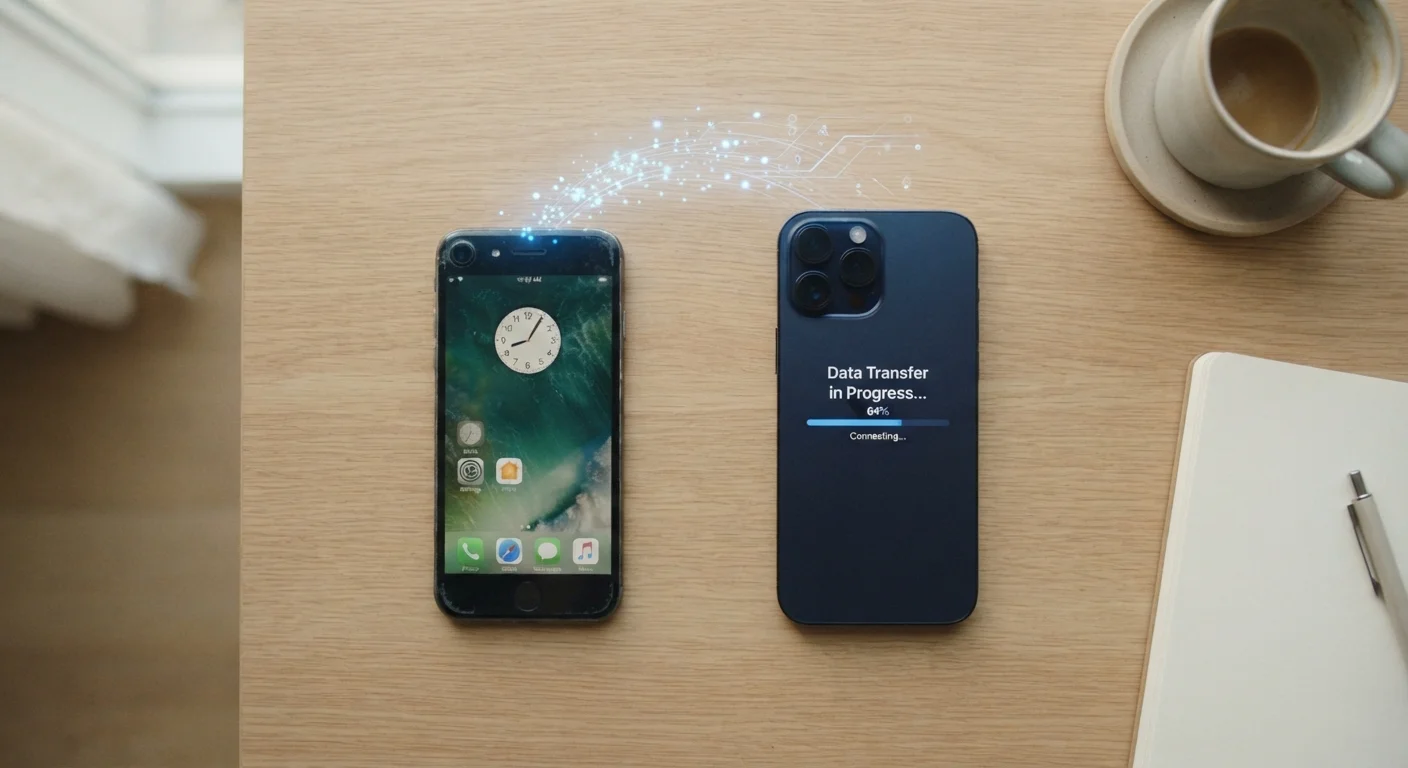
Photo: UnlockTopics.com | Unlocking Trending Content editorial
Key Takeaways
- Back up your old phone before doing anything else — this is the most critical step.
- Both iOS and Android offer built-in migration tools that transfer most data automatically.
- Photos, contacts, and app data each require different attention during a transfer.
- Verify everything transferred correctly before wiping or selling your old device.
- Two-factor authentication apps need manual re-setup and can lock you out if skipped.
Why Phone Migrations Go Wrong
Switching phones should be straightforward, but a few common missteps cause most of the headaches. The biggest is assuming that a cloud backup is complete when it isn't — or that apps will seamlessly reappear with all their data intact. In practice, cloud storage limits, interrupted Wi-Fi syncs, and app-specific data that lives locally on a device can all create gaps.
A second common problem is acting too fast. Doing a factory reset on the old device the same day as the transfer — before anything has been verified — is how photos, contacts, and years of saved data get permanently deleted.
Don't Reset Your Old Phone Yet
Understanding what actually moves automatically versus what needs manual handling is the key to a smooth transition. Contacts tied to your Google or Apple account transfer reliably. Photos sync if your cloud library was up to date. App data is trickier — some apps sync everything to the cloud, others store data locally and need to be handled individually.
If you're also setting up new smart home devices alongside your phone, our guide to setting up a smart home hub covers that process separately.
What You'll Need Before Starting
Gather these before powering on your new phone. Trying to locate credentials or cables mid-process is a reliable way to create mistakes.
What you will need
iCloud or Google One Backup
Creates a full cloud backup of your old device that your new phone can restore from.
iPhone-to-iPhone Quick Start (iOS)
Apple's built-in wireless migration tool that transfers data directly between two iPhones placed side by side.
Google's 'Copy your data' setup feature (Android)
Android's built-in transfer wizard that runs during initial setup to copy data from an old device.
USB transfer cable or adapter
Enables a faster, more reliable wired connection between two phones during migration.
Authenticator app (e.g., your current 2FA app)
Must be manually migrated to avoid being locked out of accounts post-transfer.
Charge Both Phones Before You Start
Step-by-Step Migration Walkthrough
Follow these steps in order. Each one builds on the previous, and skipping ahead — especially past the backup and two-factor steps — is where problems originate.
Two-Factor Authentication Apps Need Special Attention
Back up your old phone completely
Before touching your new device, create a full backup of your old one. On iPhone, go to Settings > [Your Name] > iCloud > iCloud Backup and tap Back Up Now. On Android, go to Settings > System > Backup and confirm a Google backup is enabled and current.
If you have a large photo library, also consider backing up to a computer or an external storage service separately — cloud backups have storage limits that may not cover everything.
Prepare your two-factor authentication apps
Open any authenticator app you use and look for an export, transfer, or account migration option within that app's settings. Each app handles this differently, so consult its help documentation. Complete this step while your old phone is still active and in your hands.
Write down backup codes for your most important accounts (banking, email, work tools) as a safety net before proceeding.
Power on your new phone and start the setup wizard
Turn on your new phone. Both iOS and Android walk you through an initial setup wizard. When prompted, choose the restore from backup or copy data from old device option rather than starting fresh.
- iPhone: Select Restore from iCloud Backup or use Quick Start to transfer wirelessly from your old iPhone.
- Android: Select Copy apps & data and follow the prompts to connect your old device via cable or Wi-Fi.
Transfer photos and media separately if needed
Automatic backups often cover photos, but verify this before proceeding. On iPhone, check that your iCloud Photo Library is fully synced. On Android, confirm Google Photos backup shows all photos are backed up with no pending items.
If you store photos locally (not in the cloud), connect your old phone to a computer and manually copy the camera folder to a hard drive or upload them to a storage service before the transfer.
Reinstall and log into apps
Most apps will reinstall automatically from a backup, but you'll need to log back in to each one individually — saved passwords don't always carry over. Use your phone's built-in password manager or a third-party password manager to speed this up.
Check that apps which use local data — fitness trackers, note-taking apps, offline maps — have fully synced their content before you consider the transfer complete.
Verify everything before wiping your old device
Spend at least a day using your new phone normally before doing anything to your old one. Check your contacts, scroll your photo library, open your key apps, and confirm messages and calendar events are present. Only after this verification should you consider a factory reset of the old device.
If you plan to sell or give away your old phone, see our checklist for protecting your data before handing it off for the right steps to take.
Once you're confident everything is in order, you may also want to explore features you've never used before. Our overview of your phone's accessibility features is a practical place to start — many tools there are useful for everyday users, not just those with specific needs.
After the Transfer: A Few Things Worth Doing
With migration complete, take a few minutes to review your privacy and notification settings on the new device — these often reset to defaults during setup. Check which apps have access to your location, camera, microphone, and contacts, and revoke any permissions that don't make sense for how you use that app.
If you switched operating systems — from Android to iOS or the reverse — you may also want to read up on how each platform handles privacy differently. Our breakdown of how Android and iOS approach privacy can help you make sense of the new environment.
Finally, hold onto your old phone in a drawer for two to four weeks if possible. It's the best safety net if something turns out to be missing — and it costs nothing to wait before making a final decision about reselling or recycling it.
The content on this site is for informational purposes only and is not a substitute for professional advice. Always consult a qualified professional for guidance specific to your situation.