
Home Tech Basics

Before You Mount That TV: A Room-by-Room Setup Checklist

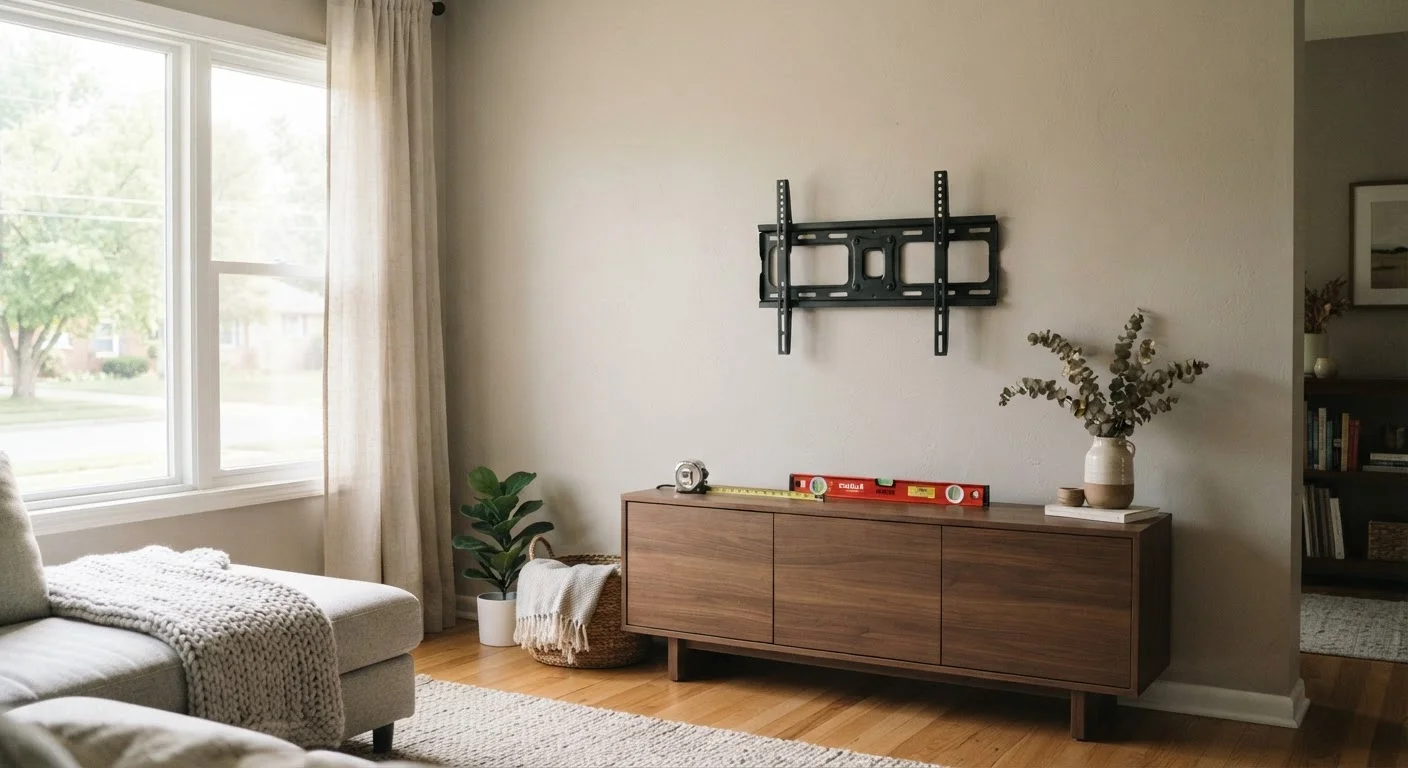
Before You Mount That TV: A Room-by-Room Setup Checklist

Photo: UnlockTopics.com | Unlocking Trending Content editorial

Wall type, viewing distance, cable routing, and glare — a practical checklist to work through before permanently mounting a television.

Key Takeaways

  • Wall type determines which mount hardware you need — drywall, concrete, and brick each require different anchors.
  • Optimal viewing distance is roughly 1.5 to 2.5 times the screen's diagonal measurement.
  • Glare from windows and light sources should be assessed at multiple times of day before drilling.
  • Cable routing and power outlet placement must be confirmed before the TV goes up permanently.
  • Stud location and load capacity are non-negotiable safety checks, not optional steps.

Why a Checklist Matters Before You Drill

Mounting a television feels straightforward until the bracket is on the wall and you realize the nearest power outlet is six feet away, or afternoon sun turns the screen into a mirror. A systematic room-by-room review catches those problems before they become permanent ones.

This checklist is organized around the decisions that genuinely differ from room to room — because a bedroom mount at seated-eye-level needs different planning than a living room display centered above a console. Work through each group before purchasing hardware or picking up a drill.

If you're still deciding on the television itself, the kind of prep thinking in our large home purchase checklist applies just as much to a TV as it does to appliances or furniture.

Wall and Structural Assessment

Identify your wall material — drywall, plaster, concrete, or brick — so you can select the correct anchors and hardware. Must
Locate wall studs using a stud finder and mark their centers clearly; mount into studs wherever possible for maximum load support. Must
Confirm the mount's stated weight capacity exceeds your TV's weight by a meaningful safety margin. Must
Check for pipes, electrical wiring, or HVAC ducts hidden in the wall using a multi-scanner before drilling. Must
Verify the wall surface is flat and plumb so the bracket seats evenly without shimming. Should

Viewing Position and Height

Measure the distance from your primary seating position to the wall and cross-check it against your screen size using the 1.5–2.5× diagonal guideline. Must
Determine eye level from your actual seated or reclined position — not standing — and use that measurement to set mount height. Must
Account for any tilt or swivel range in the mount if the viewing angle varies across seats. Should
Hold a cardboard cutout or have a helper hold the TV in position so you can preview the height before drilling. Nice to have

Glare and Lighting Audit

Visit the room at multiple times of day — morning, afternoon, and evening — and observe where direct light hits the intended wall. Must
Identify windows directly opposite or adjacent to the mount location that could cause glare on the screen surface. Must
Consider whether blinds, curtains, or repositioning furniture can mitigate glare before changing the mount location. Should
Note overhead light fixture positions to ensure they don't create reflection hotspots on the screen during evening use. Should

Power and Cable Management

Confirm a grounded electrical outlet is within cable reach of the mounted TV position without requiring an extension cord. Must
Plan a cable routing path for HDMI, power, and any other connections — either through the wall (using an in-wall rated kit) or via a concealment channel along the baseboard. Must
Identify the location of any streaming devices, game consoles, or soundbars and ensure cable lengths will reach the mounted TV. Should
Consider a surge protector with adequate outlets for all connected devices before finalizing the setup. Should
If running cables inside the wall, verify your local building codes — in-wall power cables typically require CL2 or CL3 rated wire for compliance. Must

Final Pre-Drill Verification

Double-check all measurements — height, horizontal centering, and stud alignment — before drilling any pilot holes. Must
Use a level to confirm the mount bracket sits perfectly horizontal once pilot holes are marked. Must
Do a dry run attaching the TV to the mount bracket on the floor to confirm VESA pattern compatibility before the mount goes on the wall. Should

Tools and Materials to Have Ready

Running through this checklist is faster and more accurate when you have the right tools on hand. You don't need a professional toolkit — but a few basics prevent guesswork.

Required

Stud finder

Locates wall studs and, on multi-sensor models, detects wiring and pipes behind drywall.

Required

Bubble level

Ensures the mount bracket is perfectly horizontal before pilot holes are drilled.

Required

Tape measure

Confirms viewing distance, screen height, and cable routing lengths.

Required

Power drill with bit set

Drives pilot holes and secures lag bolts or anchor screws into the wall.

Required

Pencil or painter's tape

Marks stud centers, bracket height, and layout lines without damaging the wall.

Optional

In-wall cable management kit

Routes power and AV cables cleanly inside the wall for a cord-free appearance.

Optional

Cardboard cutout (TV-sized)

Lets you preview the TV's footprint and height on the wall before any drilling begins.

One point that often catches people off guard: power access. Confirm that your chosen wall location has a grounded outlet within the TV's cord reach, or budget for an in-wall cable management kit. Extension cords draped visibly behind a mounted TV are both a tripping hazard and an aesthetic problem.

Don't Route Standard Power Cords Inside Walls

Running a regular TV power cord through drywall is a fire hazard and violates most residential electrical codes in the US. If you want a clean, cord-free look, use an in-wall power extension kit specifically rated for in-wall use (look for CL2 or CL3 on the packaging). When in doubt, consult a licensed electrician — the cost is far less than the risk.

Room-Specific Considerations

Living rooms typically prioritize a shared sightline from a sofa or sectional. Measure your primary seating distance and multiply your screen's diagonal by 1.5 (minimum) to 2.5 (comfortable maximum) to confirm the size makes sense for the space. A 65-inch screen viewed from 7 feet often feels overwhelming; a 55-inch at 12 feet can feel underwhelming.

Bedrooms introduce a different challenge: eye level when lying down versus sitting up. Many people mount bedroom TVs too high because they default to living room conventions. Sit or lie in your typical viewing position and have a helper mark where the center of the screen should land on the wall — then adjust mount height accordingly.

Kitchens and dining areas demand honest glare assessment. These rooms often face east or west and catch direct light at meal times. Test your chosen wall at breakfast and dinner before committing.

Display planning shares a lot of logic with monitor placement. Our piece on common monitor mistakes covers viewing angles and panel behavior that translate directly to TV setup decisions.

Above-Fireplace Mounts: Proceed With Caution

Mounting a TV above a fireplace is one of the most common requests — and one of the most problematic. Heat and smoke rise directly into the electronics, potentially shortening the TV's life. More practically, the height forces viewers to crane their necks upward for extended periods, which is genuinely uncomfortable. If this location is unavoidable, use a full-motion mount that tilts the screen downward, and confirm the fireplace generates acceptable ambient heat levels at screen height before making it permanent.

Tech & Gadgets Editorial Team

UnlockTopics.com | Unlocking Trending Content

Tech & Gadgets Editorial Team is the collective byline for our editorial team and contributor network. Articles published under this byline or an editorial pen name are researched, written, and reviewed according to our editorial standards for clarity, consistency, and independence before publication.

Smartphones & TabletsHome Tech BasicsComputers & Accessories
View author profile

The content on this site is for informational purposes only and is not a substitute for professional advice. Always consult a qualified professional for guidance specific to your situation.